Sunday, May 26, 2013

Coop building extravaganza!

This post is going to be epic and filled with lots of pictures, so grab a cocktail, sit back, relax, and enjoy. :D

Since we decided we were going to get chickens, we knew we would need a coop in which they would sleep.  We also knew we are going have poultry probably for the rest of our time here, so we wanted to make sure the coop wasn't crappily built or a sight for sore eyes.  One afternoon, we were driving somewhere, and we passed an octagon shaped house...bingo!  We decided then and there that our coop would be an octagon, and lucky for us, our soon to be brother in law is a very talented carpenter.  While he works more on cabinet building and other fine scale carpentry projects (check out his business, Harraseeket Woodwrights), we had a sneaking suspicion he'd be up for the challenge of an octagonal chicken coop.

We were right!

Our crazy crew!
And now, we'll show the progress of the coop building by way of many, many pictures.

Anna and Allison at the groundbreaking ceremony.

A pile 'o supplies....we got many, many, many more supplies.

Farm manager was extremely involved throughout the process.  He might be sleeping on his face here...

Turns out, leveling 8 points is way harder than the standard 4 points.  Thank goodness for the laser leveler.

Anna wields the nail gun for the first time while framing the floor.  I'm not convinced of her skills.  We are nail gun masters now.

We finished framing the floor only to find out it wasn't actually level.  Crap.  Back to leveling.....again.  I swear, we spent days leveling this thing.

Working hard, or hardly working?

Booyah!  End of day 1 -- yep, that's a beer.  We deserve it.

Ned is a master on the chop saw...and a master at helping us pick out our own chop saw.  Just add it to the arsenal of power tools we're acquiring.

Floor is down and walls are going up -- at some point, all our families were involved.  

Starting to look like a building -- Oliver, of course, oversees all major projects like wall raising.

Sometimes you just have to take a break from chop sawing to observe....or take a nap.

We have a chicken door, people....complete with a chicken.  

Walls, floor, window frames....things are looking good.

Anna takes on the suckiest job of all -- using the Saws-all to cut out the holes for the windows.  I did one window, and that was just about enough for me, thank you very much.  

We have waterproofing and windows, people!  

The coop will also be inhabited by the ducks.  Here, Harriet tests out the window. I think she approves, and someday she can gaze longingly at her pond from this window.

...and then it got really hot, and clothes started coming off.  

Framing the roof is way easier with some hot assistants....just sayin'.

Roof framing is done -- and casting some sweet shadows.

Ned was most definitely in charge of this part.  Let's just say that while our carpentry skills have improved immensely from the start of this, putting this roof together was way beyond our rookie cutting abilities.

Anna and my dad became shingling masters.  After I finished the interior walls, I joined them.  I think it is safe to say that none of us will look at a shingled house the same way ever again.  Talk about labor intensive!

Getting closer.  Shingling around windows and doors is a real beotch.  We are really happy with the finished product, though.  It was totally worth the effort.  
The finished product. The chicken door is eventually going to look like a mini person door...complete with a cabinet knob as a doorknob.

The view from the window side (with Oliver for scale, of course).  We are super happy with the end result.
The first tenants.  The ducks have been sleeping in the coop for about a week now, and they seem to love it.  They have found a good sleeping spot, and are plenty warm in the morning.

Until recently, we've been carrying the ducks to and from the coop in a basket.  There was plenty of room in said basket when we started, and now they're pretty much on top of each other.  Our ducks aren't imprinted on us since we got them as ducklings, but they tend to move as a group so we've decided to try to start herding them instead of carrying them.  Here's our first attempt to herd them from the coop to the pond...in theory the easier direction since they want to be in the pond.  It took some serious persuasion from inside the coop to get them out the pop door, but once they were out, they were off and running.....in the wrong direction!


Upon arriving at the pond, however, they are thrilled with life.  This is what we call 'happy duckle fun time.'  It never gets old watching them cruise around the pond.


Tuesday, May 21, 2013

Groundhog adventures

It's been a while, but not for lack of things happening at the farm! Quite the opposite, actually, we've been SO busy. So, look forward to many updates in the next week or so.

A couple of weeks ago, a groundhog decided to take up residence in the terraced garden next to the house -- either that or it was unlucky enough to wander by and get chased into the rock wall by one or both of the dogs. Regardless of the reason, we were quickly alerted to its presence by Oliver's incessant barking. At the time it was wedged between a large stepping stone and the house siding. Jessie and I had a simple solution for the problem; we put the dogs inside, grabbed a long stick and pushed it out the other side of the rock. As we watched the brown furry rodent run from us we commented on how cute it is and how afraid it must be and congratulated ourselves on a job well done. To our horror, we then watched the beast take a sharp left and dive into a hole between two rocks in the wall supporting the terraced garden under the porch. Crap.

Groundhogs not only can cause major destruction with their burrows, but also they can devastate a garden in short order. We wanted nothing to do with it. Not knowing the gender of our squatter had us even more concerned as it was spring, and babies can come very quickly.

The first evening we set up a small Have-a-heart trap that we found in the basement baited with what a quick Google search informed us was a sure thing: Cantaloupe.

No luck.

To add injury to insult we could hear the thing moving around in the hole and could see bits of insulation from the outside of the basement in the entrance of the hole. Olive set up a post next to the trap and rock wall and would not leave the spot for the entire day. She refused walks with us, and lost all interest in a chipmunk eating bird seed only feet from her location. I question if she even relieved herself during her watch.

The second day we picked up a larger Have-a-heart trap and baited it with not only cantaloupe, but also with bread and peanut butter, and carrots. This combination was a success! We finally caught something. Oliver. He couldn't resist the peanut butter and carrots.

Our first catch in the trap
Day three. Olive keeps her vigil and the woodchuck gives us the finger.

Day four. Jessie and I left the house to run errands for a couple of hours and brought the dogs with us, leaving the house quiet and woodchuck unmolested. Bingo. We came home to a trapped woodchuck. Yippee!!!!

We lifted up the trap and checked it's belly for evidence of lactation. Thankfully, there was no sign.
Jessie and I rock, paper, scissored for it and Jessie ends up taking it about 10 miles away, across a river and releases it in a clearing under some power lines. She tells me that it took off the second the trap was opened. Hopefully never to be seen again.

Ready to be relocated and looking quite scared

Tuesday, April 30, 2013

More babies!

Today marked the long awaited arrival of our chicks.  They were hatched on Sunday and shipped yesterday.  We have been hovering over the tracking information all day, and we were anxiously awaiting the phone call from the post office.  Finally at 12:30, the phone rang.  It was the postmaster in Bath (25 min from us) telling me that they had our chicks but that there was no truck scheduled to bring mail to our local post office until tomorrow.  He was wondering if we'd be willing to come down and pick them up.  We decided to make the sacrifice. ;)

When we got to the post office, we could hear them peeping long before they were in our little hands.  We opened the box when we were still there to make sure everyone made it in one piece.  All babes were present and accounted for -- and literally trying to hop out of the box! All the ride home, I couldn't stop peeking in at them...until one practically landed on my lap.

Once we got them home, we checked them for any potential chick health hazards, took their photos, showed them their water, and let them get settled.  I'm excited to see what their colors turn out like when they're adults.  We have two of each of the following breeds: Silver Laced Wyandotte, Barred Rock, Easter Egger (a.k.a. Araucana, Americauna; these come in a variety of colors -- we got them because they're good layers, and they may lay blue, green, or pink eggs), and Black Australorp.

They have been actively eating, drinking, and exploring their new abode.  Admittedly, a couple have gotten lost on the opposite side of the feeder from their friends. It is a little embarrassing, but I'm sure they'll figure it out soon enough.  Needless to say, they're wickedly cute. It can be a tad difficult to tell which chick is which breed at this point, but here are our best guesses.

Silver Laced Wyandotte #1

Barred Rock #1

Easter Egger #1 -- her name is Saffron

Easter Egger #2

Black Australorp #1

Black Australorp #2

Barred Rock #2 -- does this down make by butt look big?

Silver Laced Wyandotte #2 -- sooooooo sleeeeeeeepy....

And now, the good stuff:


Saturday, April 27, 2013

Sheet mulching -- party of 2

With spring drawing ever closer, and the day when we finally get to plant all our seedlings just around the corner, we need to get our garden bed ready.  You've heard me mention permaculture many times before, and this is one place where we're definitely putting it into practice.

Though I could easily write a very long post just about permaculture -- in short, permaculture is a design process and theory aimed at placing humans as part of the ecosystem and not apart from it.  The theory centers on the idea of working with the land as opposed to against it by mimicking what happens in nature.  For example, look at a mature forest -- no human is intervening with tilling, weeding, and fertilizing, but the forest thrives and has reached a balance of niche use through competition for resources.  So -- in the long run, this is what we're going for with our garden.  Obviously, there are some constraints to these ideas, and we'll never be able to grow a lot of the annual vegetables we love (tomatoes, peppers, etc.) with no work. We can, however, minimize the amount of work we have to do and minimize the damage we do to the land.  

In the long run, permaculture design practices lead to minimal weeding and garden tending....BUT....at the beginning, it can be quite an investment of time and energy.  The people we're getting to know through the local permaculture community often have work parties to help each other out.  While we have yet to be a part of one of these parties (we're still newbies), we understand there's more hanging out and chatting than actual working but with a big number of people, the work still gets done.  Sounds pretty good to me.  Because a work party is hard to throw when you're new to the area, we're working as a party of 2 -- and that makes for a lot of work.

One practice that is commonly used by permaculturists (permies) is sheet mulching, a.k.a. lasagna gardening, composting in place, etc.  The basic idea is that you can start a garden bed right on top of your existing lawn without digging at all, and with some ingenuity, you can get most of your materials for free.  While I could spend a ton of time explaining the ins and outs of sheet mulching, I'll point you to the 'ultimate, bomb-proof sheetmulching' from the author of Gaia's Garden -- a GREAT book for getting started with permaculture.  The quick and dirty of it is that you layer a number of things on top of your lawn, each with a specific purpose -- newspaper for carbon, seaweed for nutrients, compost for nutrients, etc. 

So....here we go...

We did decide to till this first year, and every time I go to a permaculture meeting, I feel guilty about our decision.  Several books I've read have said that tilling the first year is ok, though, so we decided it would be a good way to get things going on year one.  It also allowed us to level the garden a bit before planting anything. Our next step is to enrich the soil with some sheet mulching.  It is ideal to do the sheet mulch in the fall so it has the winter to break down and improve the soil.  You can do it in the spring and plant directly into the sheet mulch, though, so that's what we're doing.  We did a mini-sheet mulch this spring with plans for the mega-mulch this fall (hopefully with a bigger party).  

We're lucky enough to live on a salty river, so we get a lot of seaweed washing up among the detached, dried marsh reeds.  Let me specify that anything we've collected from the river has been detached -- we're not killing things to mulch our garden here.  So the first layer for us was a seaweed/marsh grass combo -- nutrients and carbon together!

Truck o' seaweed and reeds.

Delicious, mulchy goodness!
Dr. Trafton spreads seaweed like a champ.

After we spread the seaweed/marsh grass layer, we realized we should probably have mapped out our main path before covering the entire bed with mulch.  Since we're doing a lot of our own logging, we have a lot of brush to make wood chips -- perfect path material!  Our garden paths are going to resemble the veins of a leaf.  One other aspect of permaculture -- diverse plantings -- no straight rows, and plants are interspersed.  This mimics nature, and it helps control pests.  If you have a huge bunch of tomatoes, the hornworms are like....sweeeeeeeeet!  If you have one tomato plant surrounded by other things, they are less likely to destroy all your plants.  Here, we're just making the main path.  This one will be wheelbarrow wide with the branching veins being just foot path wide.

Adding chips to define the main path.

The next layer is going to be compost.  I wandered down to a neighbor who has lots of sheep and some llamas and asked him for some of his composted manure.  He was really nice and just gave us a truckload of it!  A few days later, Anna's dad showed up with a dump truck full of his composted manure.  We're still going to need more, but it is a good start for getting things going.

Sheep/llama manure on the left (already sheet mulched) and horse/chicken/yard waste compost on the right -- about to be sheet mulched.
Farm manager performs QA/QC mid sheet mulch -- at least he has a super sweet path to use!
One of many many many loads of compost dumped on the garden.
Seaweed and compost layers done -- that is a mighty fine path.  The traditional gardner in me wants to stop here -- it looks so pretty, but we've got to cover that soil.


After adding all this nutrient-rich goodness, we need a weed block.  Part of the benefit of sheet mulching is that you add a layer to block weeds (and hopefully day lilies, in our case).  This can be a number of things, but we're going with newspaper thanks to our NYT subscribing friends. :)

After the newspaper, you want something to hold in moisture.  By enriching the soil and building more soil, the garden will hold a lot more moisture on its own requiring less additional water from us. Here we were unable to source for free, broke-down, and bought bales of straw.  You don't want to use hay here because it may have grass seeds.  It would be perfectly fine to use hay on your layers below the weed block, however, as they won't be able to germinate and grow.

Wheelbarrow o' wet newspaper -- we still had to add a bit at the end.  

Wet newspaper, then straw.

Mighty-fine sheet mulching, if I do say so myself.

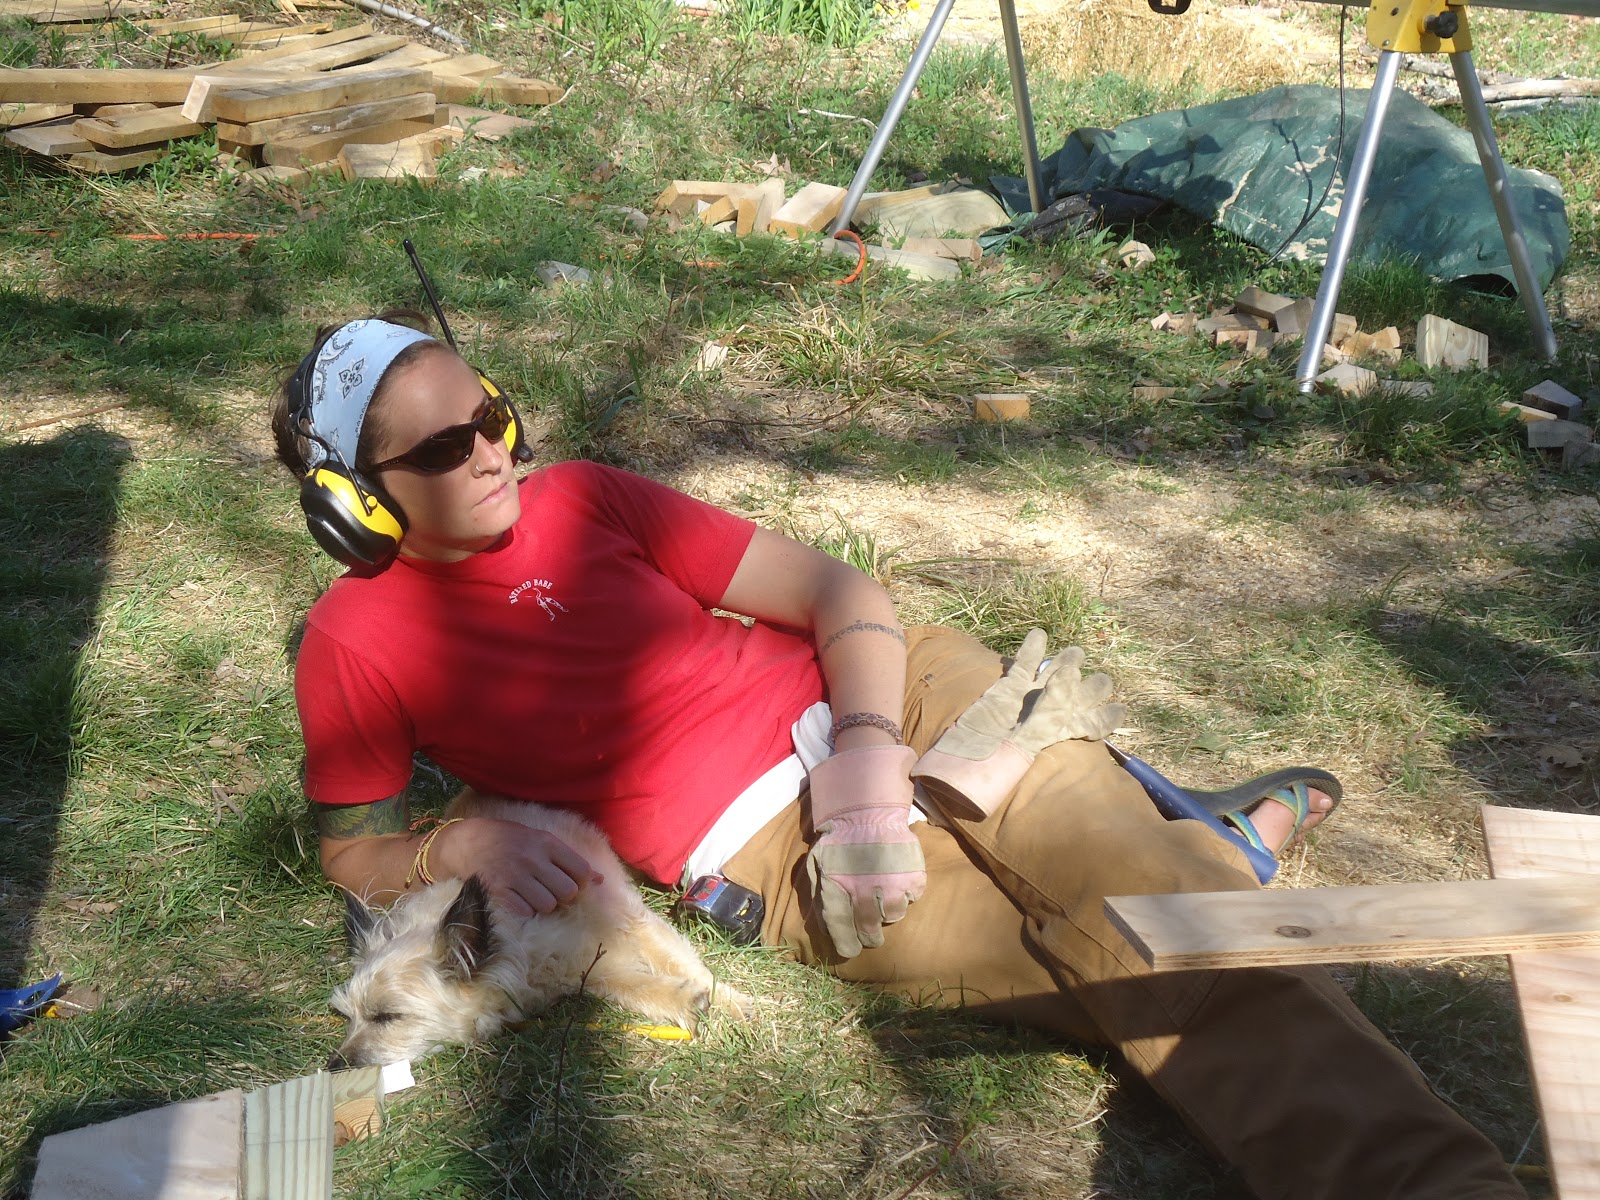
Oh, hey! You made a cozy bed just for me!

Seriously, could he possibly be cuter?

Almost done!

The final product....of half the garden. We have one more epic sheet mulching day in our future.  Also, look closely -- the farm manager is still there. :)

Even though I've read the books, talked to people, and have clearly drunk the permaculture kool-aid, while we were laying newspaper and straw over our lovely compost, I was thinking, "What the hell are we doing?!?!?!" While I totally subscribe to not having exposed, bare soil, it just felt wrong to be putting newspaper and then straw on everything. We're committed to these methods for this year, and I'm hoping the more we learn, the more we find it less crazy.